For Applicants

How admission to a Russian university actually works

Whether you're applying through the government quota or directly to a university on a tuition-paying basis, the process follows the same four stages. Here's what actually happens, in order, and what you're responsible for at each step.

Quota vs. tuition-based: what's the difference?

The government quota covers tuition in full and includes guaranteed dormitory housing, but places are limited and selection is competitive. Tuition-based admission has no quota limit and a simpler process, but you pay the university's fees directly. Most applicants apply to the quota first and keep a tuition-based option as a backup.

Four steps

A clear path from your first choice to arrival.

Move through the process at a steady pace. The timeline on the left follows your progress as you scroll.

Step 1Choose your programme

Choose your level, field and up to six universities

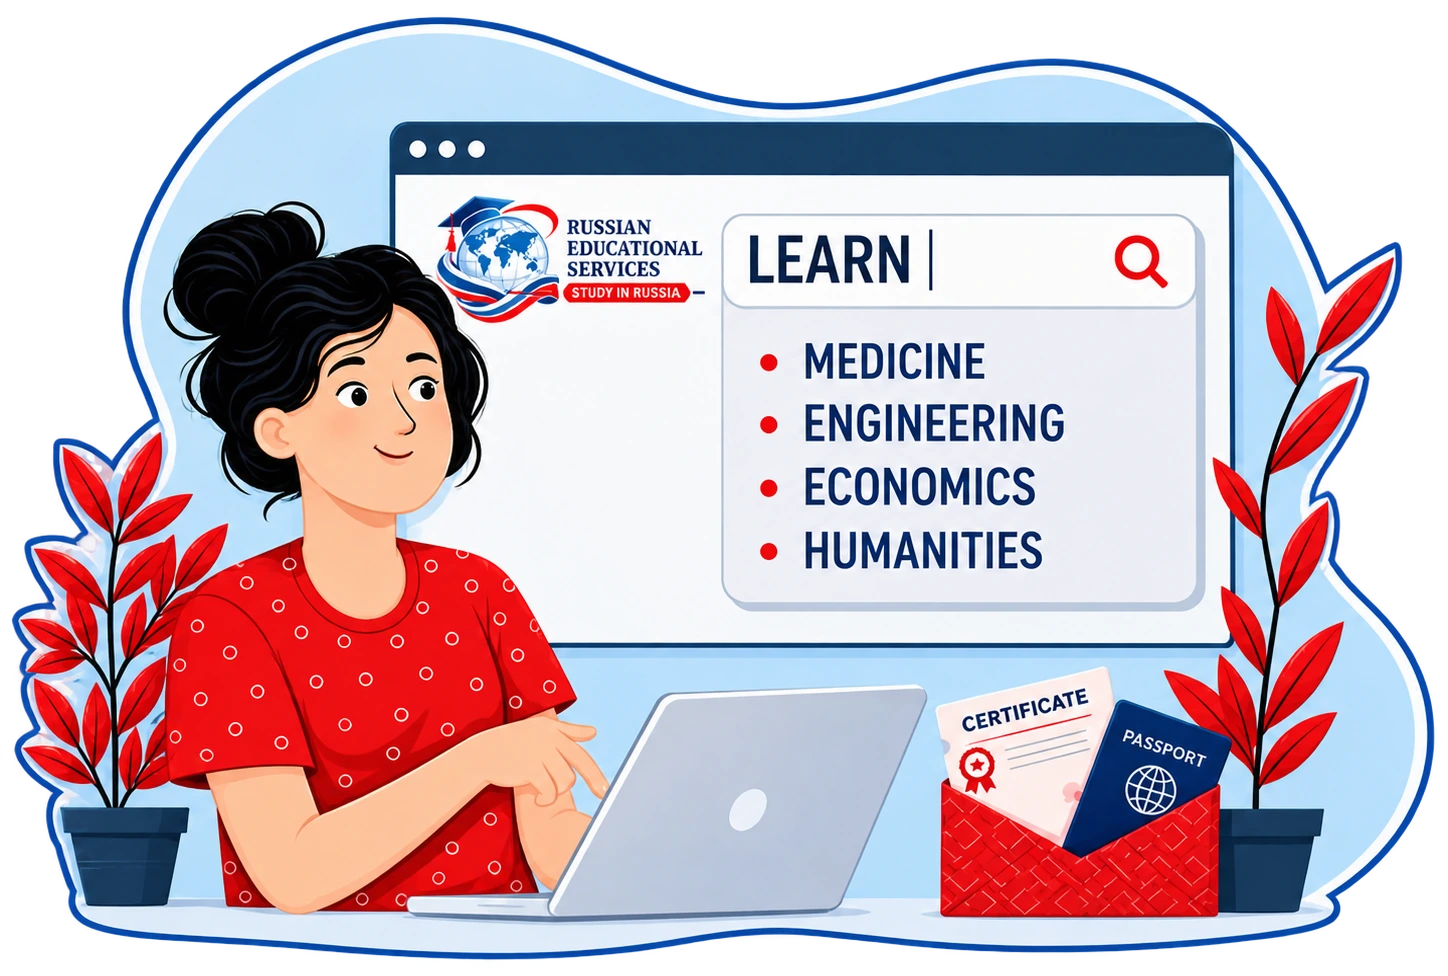
Choose a field, degree level and suitable universities that match your qualifications and study plans.

Start by deciding what you want to study and at what level — a Preparatory Course, Bachelor's, Specialist's degree, Master's, Clinical Residency or PhD. The government quota application lets you list up to six universities in order of preference: listing more genuinely improves your odds, since your file is only reviewed against the next university on your list if you're not placed at the one above it.

  • Decide your field: medicine, engineering, economics, aviation, law, and more
  • Check the language of instruction — Russian, or English where it's offered
  • Shortlist up to six universities, ranked by preference
Full checklist for this step
  • Compare the subject area with your previous education and strongest academic subjects.
  • Check the degree level, duration and language of instruction before selecting a programme.
  • Review the university’s entry requirements for your intended intake.
  • Confirm whether a preparatory Russian-language year is required for your route.
  • Shortlist programmes that fit your academic background and long-term plans.
  • Consider tuition, living costs, accommodation and the city where you would study.
  • Review the programme curriculum so you know what you will study from the first year.
  • Check whether the qualification supports the professional path you want to pursue.
  • Keep several suitable university choices so your application remains flexible.
  • Once your shortlist is clear, move to document preparation and the application stage.
Step 2Submit your profile

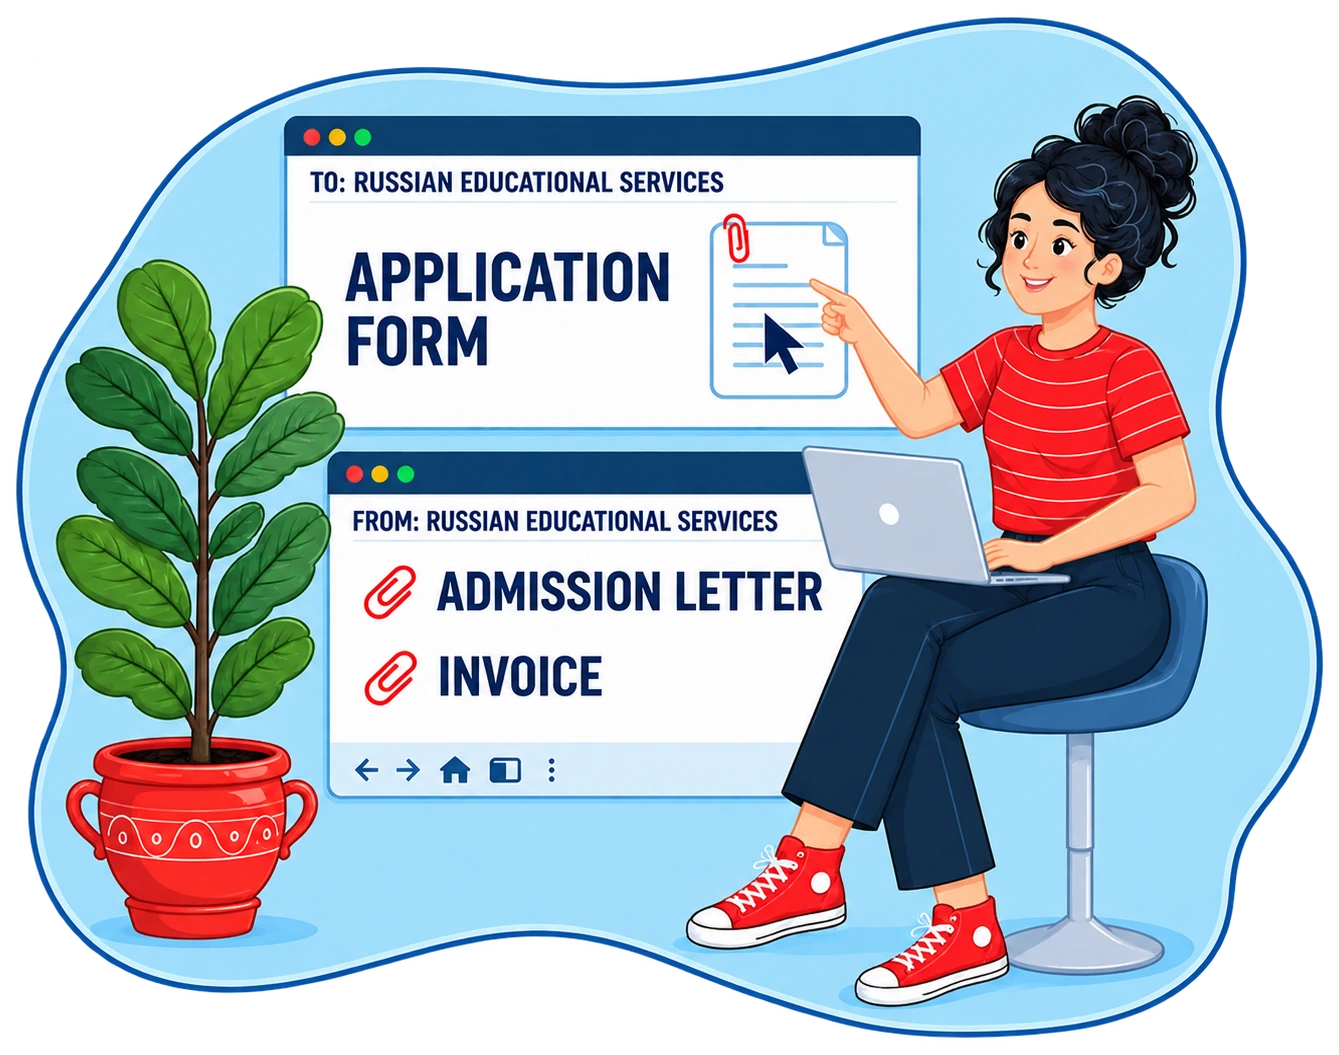
Prepare and submit your documents

Complete your profile and prepare clear documents. We review the package for consistency before submission.

This is the stage where most applications lose time unnecessarily — a missing stamp, an untranslated transcript, or a passport with too little remaining validity can hold up an otherwise strong file. We check everything before it's submitted, not after it's rejected.

  • Passport valid at least two years from your planned arrival date
  • Diploma or school certificate with an official, translated transcript
  • A medical certificate, including any required test results
  • Passport-style photographs and a completed application form
Full checklist for this step
  • Prepare a clear scan of your passport and the academic documents required for your route.
  • Make sure your name, date of birth and passport details are consistent across documents.
  • Provide academic certificates and transcripts in the format requested for your programme.
  • Arrange certified translations when a university or authority requires them.
  • Complete the application information carefully and review every field before submission.
  • Send the documents through the agreed application channel so the package can be tracked.
  • We check the package for missing items, inconsistencies and basic formatting issues.
  • If a document needs correction, update it before the application moves to the next stage.
  • Keep copies of every document and message connected with your application.
  • After the profile is complete, the submitted package can move into the review process.

Step 3Selection & interview

Selection, interviews and results

The relevant authority reviews your application and may arrange a short interview about your programme and study plans.

For the government quota, your file is reviewed by a coordinating office and, in most cases, followed by a short interview or a qualifying test, depending on your country and chosen field. Results are typically announced over the summer, ahead of the September intake. No agency, including ours, can guarantee a quota seat — selection is genuinely competitive, and we'll always tell you the realistic odds rather than a rosier version of them.

  • Your file is reviewed against each university on your list, in order
  • An interview or short test is common, though requirements vary by country
  • We help you prepare your file and rehearse for the interview
Full checklist for this step
  • After submission, the relevant institution or authority reviews the academic profile.
  • The review considers the programme, qualifications and documents provided in the application.
  • Some routes may include an interview to clarify your study plans and motivation.
  • Prepare to explain why you chose the field and how it fits your future goals.
  • Keep your answers clear, factual and consistent with the documents in your application.
  • Respond promptly if the reviewing institution requests an additional document or clarification.
  • Admission decisions and selection outcomes are made by the competent institution or authority.
  • Keep your contact details available so important updates can reach you without delay.
  • Once a place is confirmed, review the next instructions for admission and visa preparation.
  • Use the period after selection to organise the documents needed for your move to Russia.

Step 4Invitation, visa & arrival

Invitation letter, visa and arrival

After admission, prepare the invitation and visa, arrange the essentials, and plan your arrival in Russia.

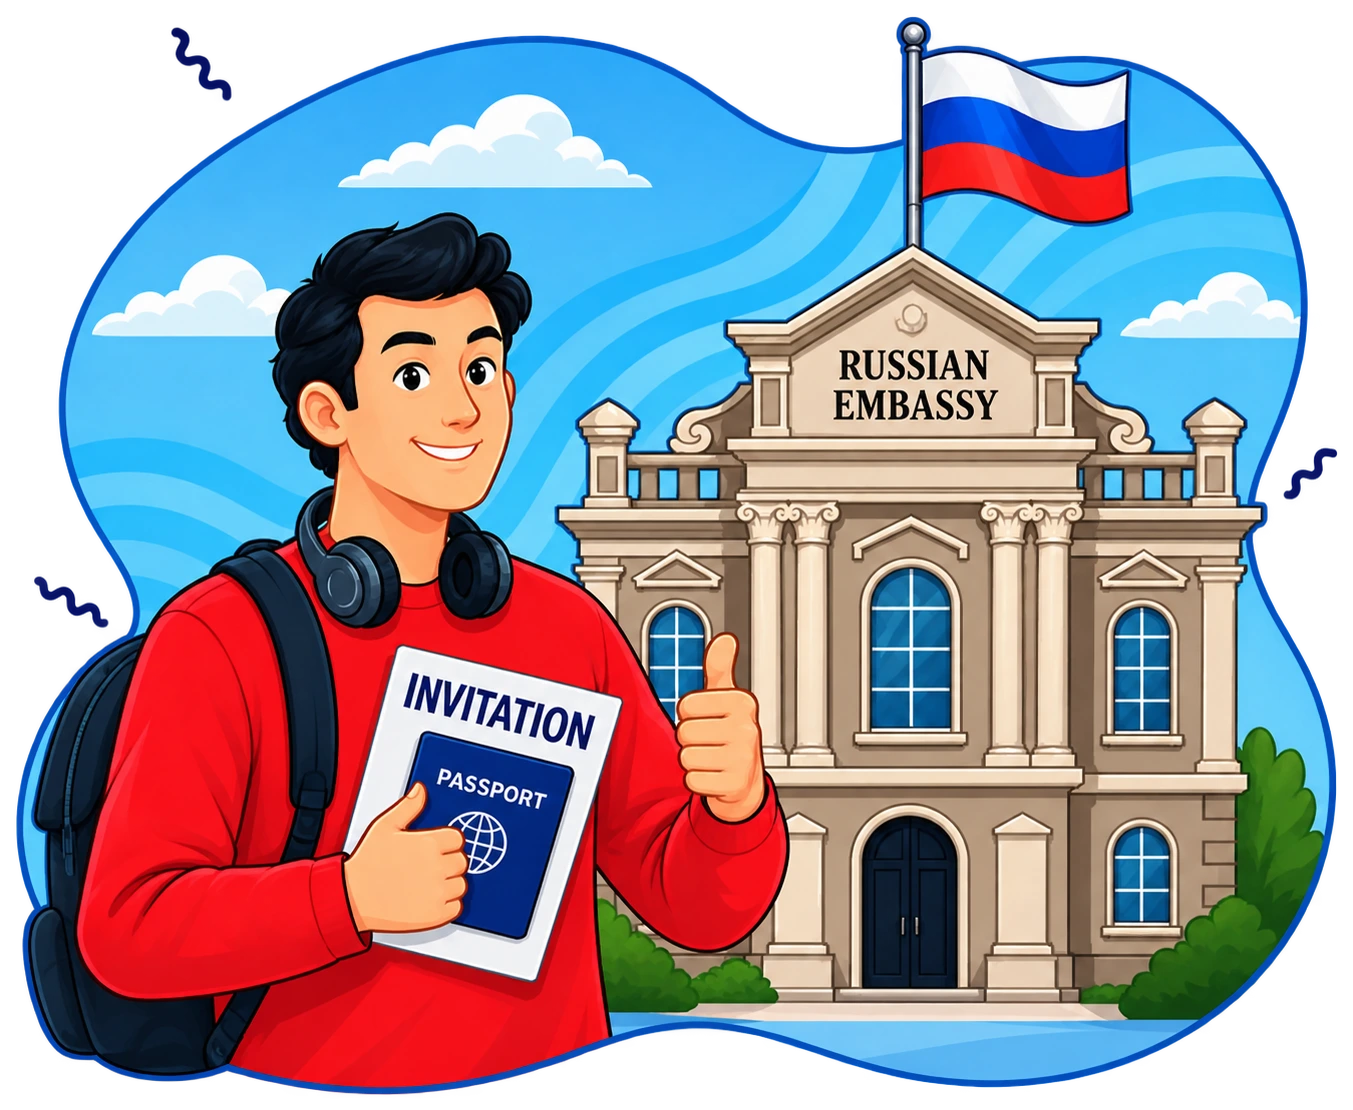
Once a university confirms your place, Russia's migration service issues an official invitation letter in your name. You'll use this to apply for a student visa at your nearest Russian consulate. From there, it's a matter of booking your travel — most quota students are met on arrival and taken directly to dormitory check-in.

  • Official invitation letter issued by the migration service
  • Student visa application at your nearest Russian consulate
  • Airport pickup and dormitory check-in on arrival, where arranged
Full checklist for this step
  • After admission, the invitation and visa stage becomes the next major part of the journey.
  • Confirm the information on your admission documents before starting the visa process.
  • Prepare the passport, photographs, forms and supporting documents required for your visa route.
  • Follow the instructions of the relevant Russian consular or visa authority.
  • Check travel timing carefully so your arrival matches the university’s registration schedule.
  • Arrange accommodation and keep the university informed if arrival details are required.
  • Prepare essential documents in both physical and digital form for your journey.
  • Plan transport from the airport or border point to your city and university.
  • On arrival, complete the university’s registration and other required administrative steps.
  • With the arrival stage complete, you can settle into campus life and begin your studies.

All four steps

Ready for the next chapter.

Your application journey is now mapped from programme choice through documents, selection, visa preparation and arrival.

Visa & arrival planning

For visa-required students, the university normally provides an official invitation used in the student-visa application. Current Russian consular guidance can require a passport with sufficient validity, the visa application, photographs, the invitation and medical documentation; exact requirements depend on nationality and visa type. After arrival, students must complete the university and migration formalities within the applicable deadlines.

Fees, living costs & first-month budget

Build a budget that separates tuition, dormitory or rent, food, transport, insurance, document costs, visa-related charges and a first-month reserve. Current public guidance puts average foreign-student living costs in a broad regional range, while Moscow and Saint Petersburg can be more expensive. Treat every figure as a planning estimate and confirm the current university invoice before payment.

Don’t wait for the deadlineStart early — from your first form to your first day on campus.

Send your details today and we will plan your documents, invitation, visa and arrival with you.